
Contact Us
Fill in your details below - whether you'd like a free test kit, a quote, a callback, or just want to get in touch. We'll get back to you within one business day.
How to Organize a Clothing Rack by Size
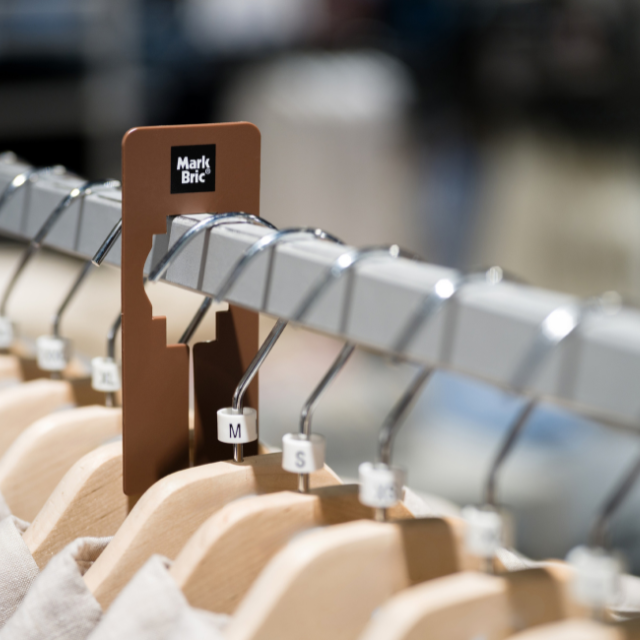
A well-organized clothing rack does two things at once: it helps customers find what they need faster, and it makes your staff’s job easier every single day. If your racks are cluttered, hard to read, or constantly getting mixed up after a busy shift, this guide will walk you through how to fix that with a system that actually holds up in a real retail environment.
Why Size Organization Matters in Retail
Shoppers make decisions quickly. When someone is looking for a medium in a specific style, they don’t want to flip through every garment on a rack to find it. If they can’t locate their size in a few seconds, many will simply move on — or leave the store without buying.
For staff, disorganized racks mean more time spent answering basic questions, correcting misplaced items, and managing fitting room returns. A clear size system reduces all of that friction and keeps the sales floor running smoothly, even during peak hours.
This is also worth keeping in mind during summer, when stores often have seasonal staff on the floor alongside the regular team. A clear, visible size system means new staff can maintain the floor confidently from day one — without needing to ask where everything goes.
Step 1 - Decide on Your Size Order
Before anything else, agree on a standard size order that will be used consistently across every rack in your store. The most common approach for apparel retail in North America is:
• XS → S → M → L → XL → XXL (left to right)
For numeric sizes such as jeans or children’s clothing, organize from smallest to largest. Whatever order you choose, write it down and make sure every team member follows the same system. Consistency is what makes the difference between a system that works and one that falls apart after a week.

Step 2 - Use Size Markers on Every Hanger
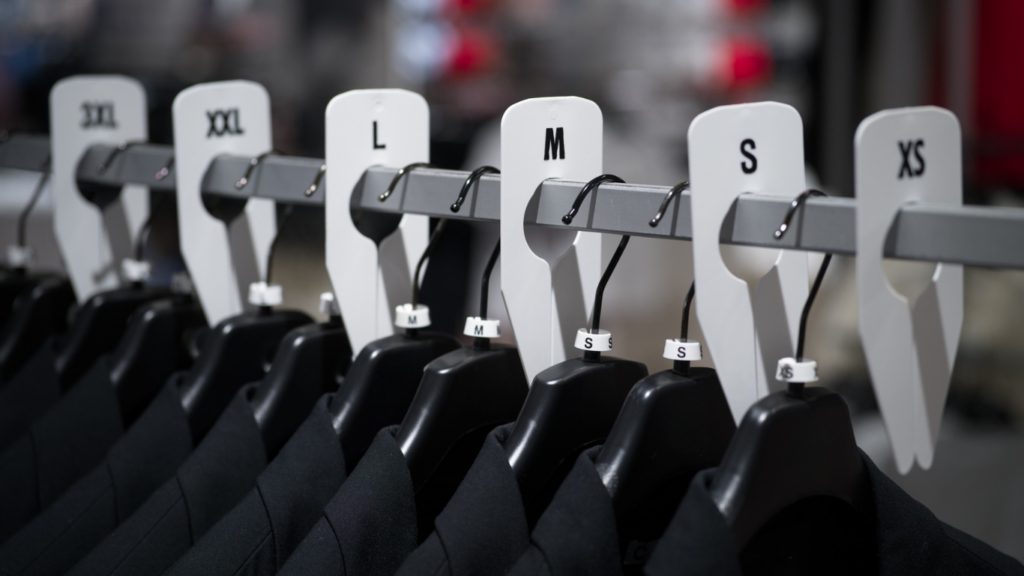
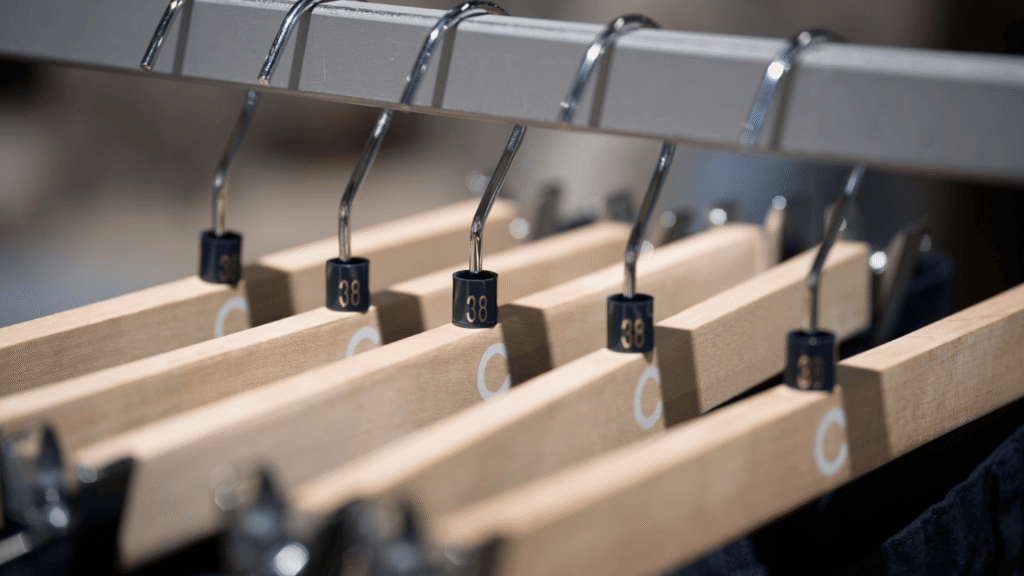
Size markers are the most direct way to communicate size on a clothing rack. They clip directly onto the hanger and display the size clearly so customers can scan a rack at a glance without touching every garment.
When choosing size markers for your store, look for:
• A secure fit that doesn’t slip off during browsing
• Legible size text that’s easy to read from a short distance
• Reusability if you refresh stock frequently
• Compatibility with your hanger style, not all markers fit all hanger types
Size markers work best when used on every single hanger, not just the first garment in a size group. The goal is that no matter which hanger a customer picks up, the size is immediately visible.
Tip: Use size markers consistently across all departments. Shoppers who learn your sizing system in one section will navigate the rest of the store faster.
Step 3 - Add Rack Dividers Between Size Groups
Once you’ve added size markers to individual hangers, rack dividers create a clear visual break between each size group. A shopper looking for a large can immediately jump to that section instead of scanning from one end of the rack to the other.
Rack dividers are particularly effective on long straight racks with large assortments. They also help staff during restocking, when every size has a clearly defined zone, garments go back in the right place faster and with fewer mistakes.
For round racks, look for round rack dividers specifically designed for circular fixtures. These create the same clear size sections without bunching or sliding.
Rack Dividers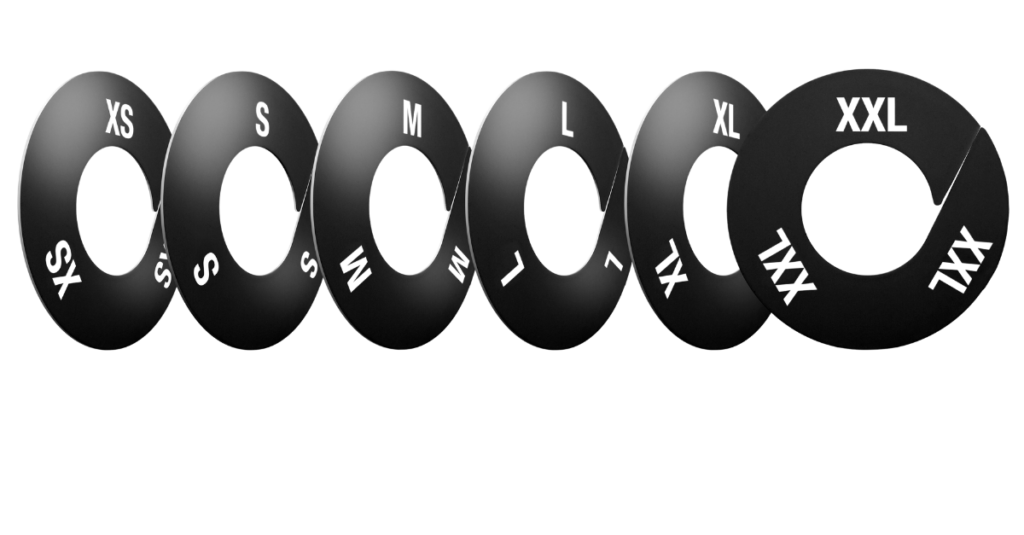
Step 4 - Label Folded Items on Shelves and Tables
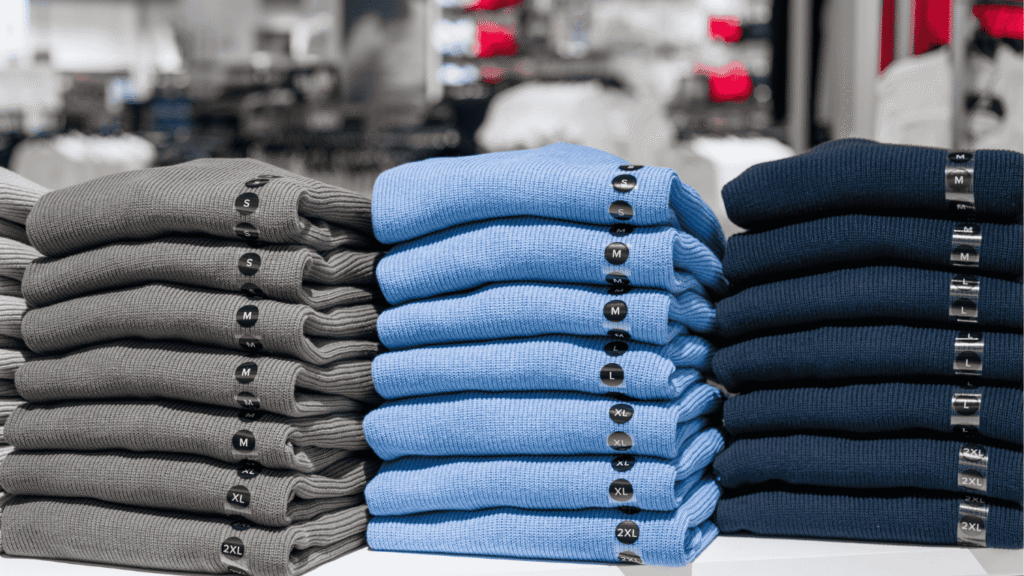
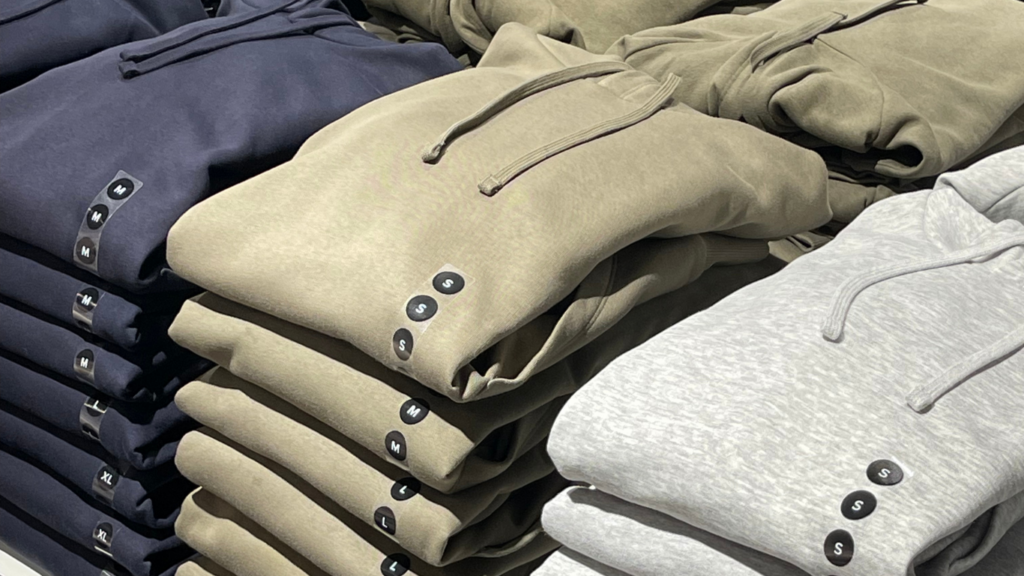
Not all apparel hangs on a rack. For folded items like t-shirts, sweaters, or jeans stacked on shelves, size strip labels are the equivalent of size markers. They attach to the edge of a shelf or the front of a folded stack and show the size clearly.
This makes it easy for customers to lift out exactly what they need without unfolding an entire pile. It also makes restocking more accurate because staff can see immediately where each size belongs.
Step 5 - Maintain the System Daily
Even the best size organization system breaks down without a daily maintenance routine. At the start and end of each shift, assign someone to do a quick walk of the floor to check that:
• Size markers are on every hanger and facing the correct direction
• Rack dividers are in the right position and haven’t been pushed out of place
• Garments from fitting room returns are placed back in the correct size zone
• Any obvious mix-ups are corrected before the next wave of customers
This doesn’t need to take long. In most stores, a five-minute size check at the start of each shift is enough to keep the floor looking organized and shoppable throughout the day.
The Right Tools Make All the Difference
Organizing a clothing rack by size doesn’t require a complicated system. It requires the right tools used consistently. Size markers, rack dividers, and size labels work together to create a floor that’s easy to shop for customers and easy to manage for staff.
If you’re looking to improve size navigation in your store, explore our full range of size markers, rack dividers, and size labels or request a free test kit to try them in your store.
Stay tuned, we’ll be adding more content soon.